How to Create a Neural Network for Recognizing Hand-Drawn Shapes
How to Create a Neural Network for Recognizing Hand-Drawn Shapes
by Naomi A.
In this guide, we will walk through the process of developing a neural network that identifies hand-drawn shapes. The tutorial is broken down into three main sections:
- Preprocessing the hand-drawn shapes.
- Training a neural network to recognize these shapes.
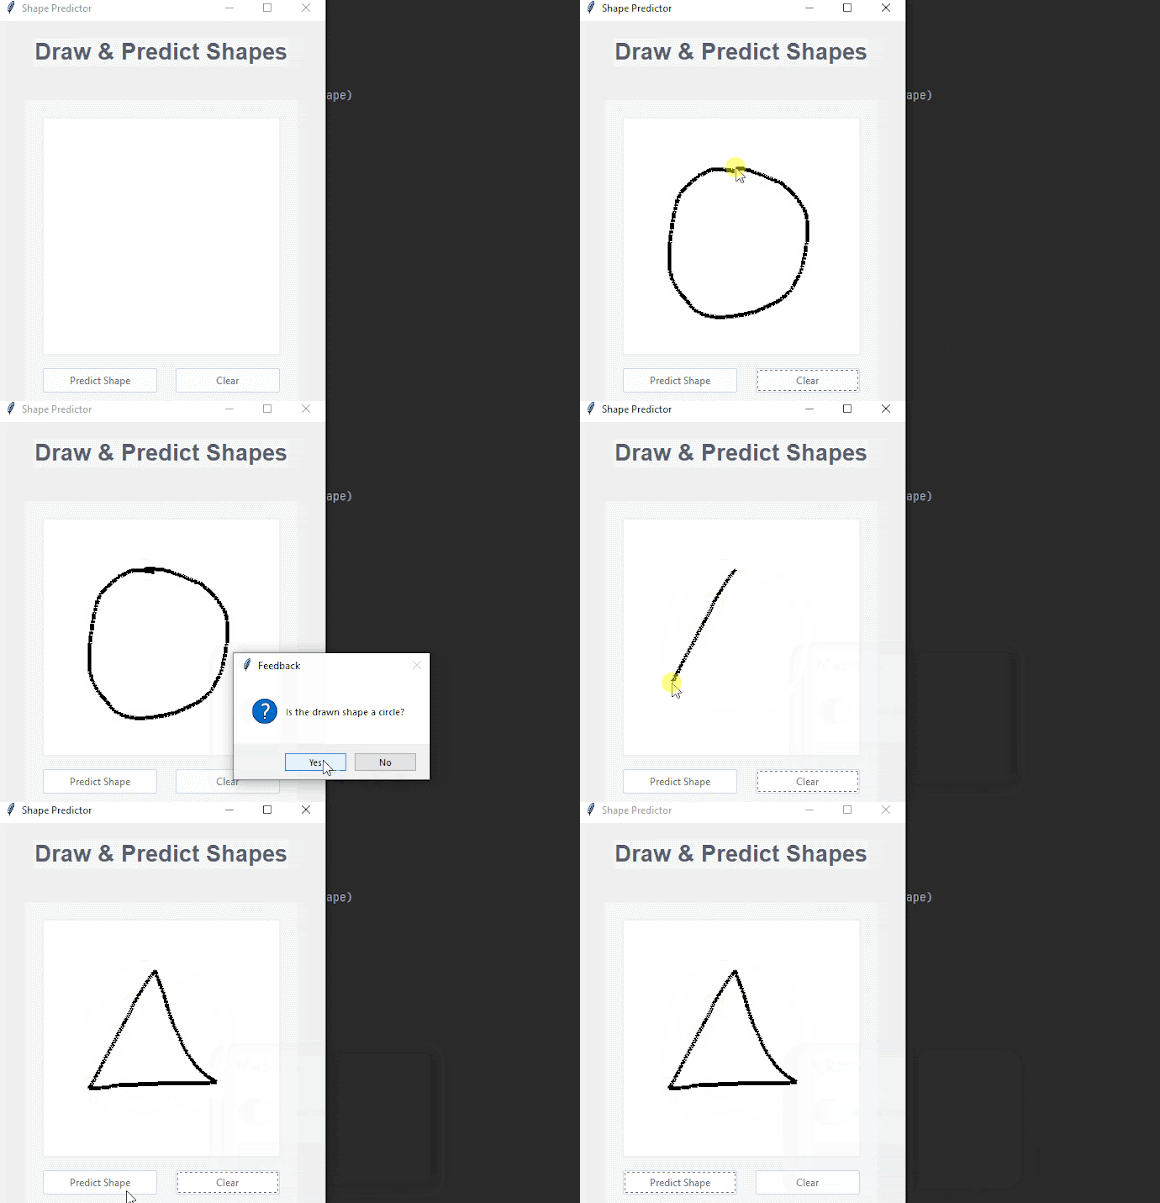
- Creating a simple user interface to predict the drawn shapes.
All code is available on github under the MIT License. (LINK TO REPO)
1. MNIST Maker: Preprocessing Hand-Drawn Shapes
Objective: Convert the images of hand-drawn shapes into a standardized format for machine learning.
Steps:
- Load the images from a specified directory.
- Convert them to grayscale and resize them to 28x28 pixels.
- Normalize the pixel values.
- Label the images based on their filenames.
- Shuffle and split the data for training, validation, and testing.
import cv2
import numpy as np
import os
import random

# Path to the shapes directory
base_folder = r"C:\yourpathgoeshere"

shapes = ["square", "circle", "triangle", "rhombus"]
labels_dict = {"square": 0, "circle": 1, "triangle": 2, "rhombus": 3}

data = []

#See full code on Github
2. Neural Network Training:
Objective: Develop and train a neural network model using TensorFlow to identify the hand-drawn shapes.
Steps:
- Load the preprocessed dataset.
- Define the neural network architecture.
- Compile the model.
- Train the model on the training data.
- Evaluate the model's performance on the test data.
- Save the trained model.
import tensorflow as tf
from tensorflow.keras import layers, models
import numpy as np
import os

print("1. Importing necessary libraries...")

# Load your custom shapes dataset
print("\n2. Loading the custom shapes dataset...")
base_folder = r"C:\yourpathgoeshere"
train_images = np.load(os.path.join(base_folder, 'train_images.npy'))
train_labels = np.load(os.path.join(base_folder, 'train_labels.npy'))
test_images = np.load(os.path.join(base_folder, 'test_images.npy'))
test_labels = np.load(os.path.join(base_folder, 'test_labels.npy'))
#See full code on Github
3. Application UI:
Objective: Develop an interactive application where users can draw shapes and have the neural network predict what they've drawn.
Steps:
- Load the trained model.
- Set up an interactive drawing canvas using
tkinter. - Enable users to draw shapes in the canvas.
- Process the canvas drawings for prediction.
- Predict the shape using the trained model.
- Display the prediction and ask for user feedback.
import tkinter as tk
from tkinter import ttk, simpledialog, messagebox
from PIL import Image
import numpy as np
import cv2
import tensorflow as tf
from PIL import ImageDraw
from ttkthemes import ThemedTk

# Load the trained model
print("Loading the trained model...")
model = tf.keras.models.load_model(r'C:\yourpathgoeshere\DrawingRecog_model.h5')

# Initialize variables for drawing
drawing = False
last_x = 0
last_y = 0
#See full code on Github
Conclusion
By following the steps in this guide, you've successfully developed a system that can recognize hand-drawn shapes. This application can be further improved by training on more diverse drawings, increasing the model's complexity, or adding more classes/shapes!
Stay tuned techies!

Comments
Post a Comment